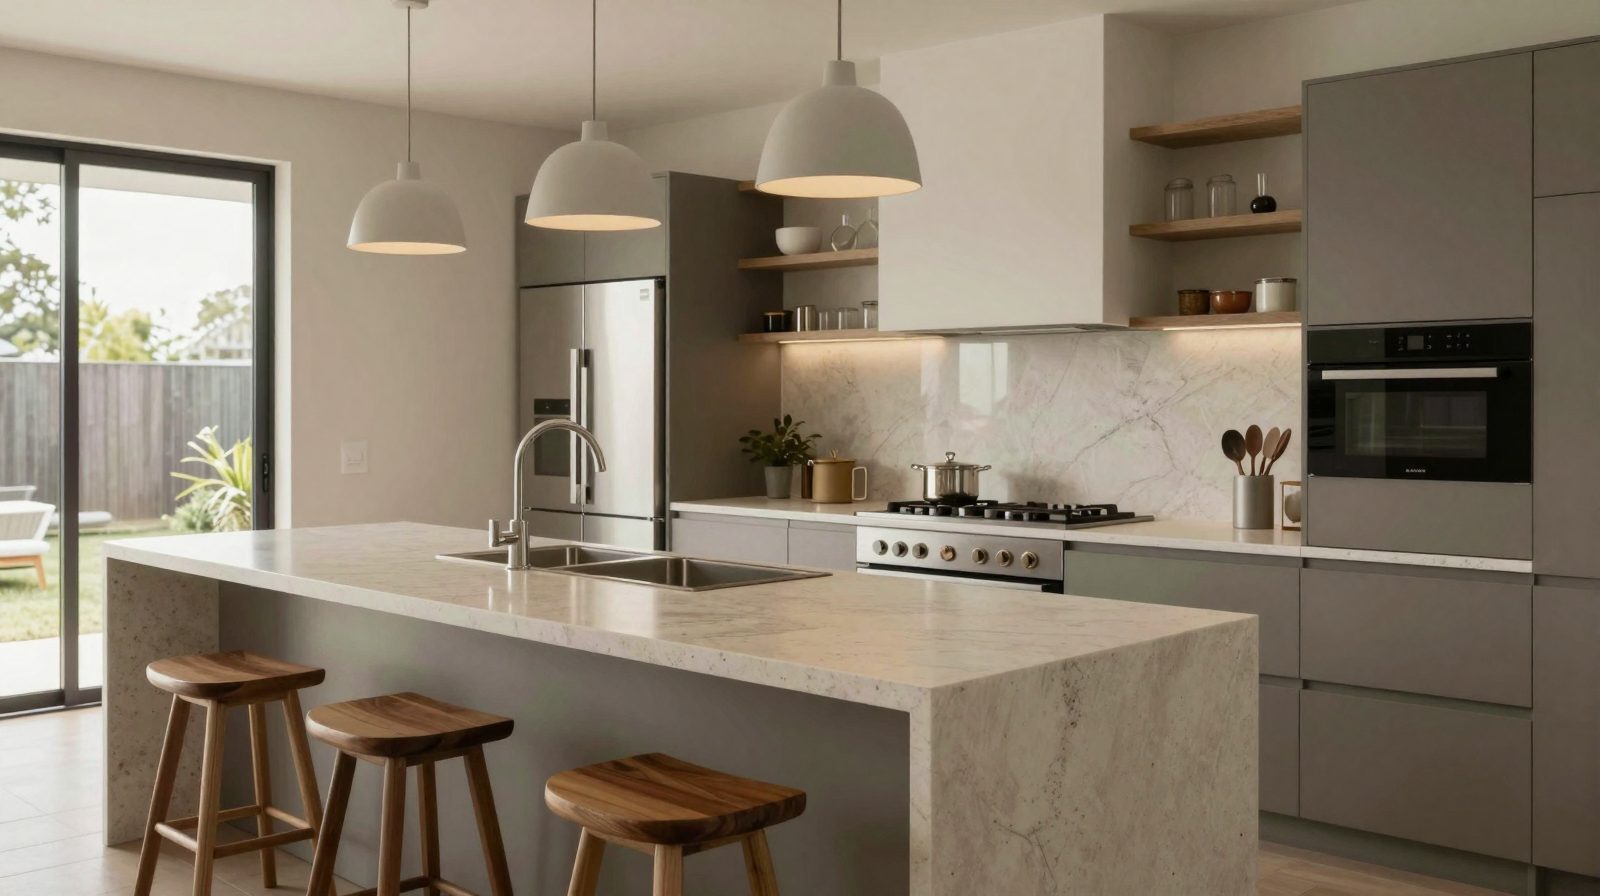
Before the shoot
- Declutter every surface. Benches, bathroom vanities and the fridge door first.
- Open blinds and curtains, turn every light on. Matching warm bulbs look better than a mix.
- Hide the bins, cars, hoses and pet bowls.
- Make the beds properly, and fold towels.
- Fix the obvious: a blown bulb or a dripping tap shows in photos.
Light
Shoot interiors when the rooms are evenly lit, usually when the sun is not shining straight in. Exteriors look best with the sun behind the photographer, or at dusk with the lights on for a twilight shot. On bright days, bracketing (several exposures blended) keeps windows from blowing out.
Camera height and lines
- Shoot from about chest height (around 1.2 to 1.5 metres) for most rooms, lower for small bathrooms.
- Keep vertical lines vertical. Tilting the camera makes walls lean; level it, then crop.
- Use a wide lens, not an extreme one. Too wide makes rooms look bigger than they are, which buyers notice at the inspection (see virtual staging and the rules).
The shot list
Front of the home, living, kitchen, dining, main bedroom, other bedrooms, bathrooms, laundry, outdoor area, garden, garage, and any feature (a view, a fireplace, a pool). Then a floor plan, so buyers can place the rooms.
The gear that matters
You do not need the most expensive camera to take good listing photos, but a few pieces of gear make a large difference.
| Gear | Why it matters | A sensible start |
|---|---|---|
| Camera | Interchangeable lenses and manual control | Any recent mirrorless or DSLR body; a recent phone for small units |
| Wide lens | Fits a room into the frame without stepping back through a wall | About 16 to 24 mm on a full-frame camera (roughly 10 to 16 mm on a crop sensor) |
| Tripod | Sharp photos in low light, level frames, matching brackets | A sturdy tripod with a bubble level |
| Remote or timer | No shake when you press the shutter | The camera's phone app or a two-second timer |
| Flash (optional) | Fills dark corners and keeps colours true | One speedlight bounced off a ceiling |
| Editing software | Straightening, exposure blending, colour | Any editor with lens and perspective correction |
Spend on the lens and the tripod before the camera body. A sharp wide lens on a level tripod beats an expensive body handheld.
Camera settings that work indoors
- Shoot in RAW if your camera allows it, so you can recover shadows and windows when editing.
- Use a low ISO (100 to 400) on a tripod for clean, grain-free files.
- Choose an aperture around f/7.1 to f/9, so the whole room is sharp from front to back.
- Let the shutter speed fall where it needs to. On a tripod, a slow shutter is fine.
- Bracket your exposures. Take three or five frames at different brightness for each composition, so the editor can blend a bright interior with a view through the window.
- Set white balance consistently, or fix it in editing, so the same white walls look the same white in every photo.
Bracketing, flash or both
There are three common ways to handle a bright window in a darker room. Exposure blending (often called HDR) combines several bracketed frames; it is simple and suits most homes, but done heavily it looks flat and grey. Flash lights the room so it is closer to the window's brightness; it keeps colours clean but takes practice. Flash and ambient blending combines a natural-light frame with flash frames for the best of both, and is what many professional real estate photographers use. Start with gentle bracketing, and keep the look natural: the room should look like the room on a bright day.
Composition: angles that make rooms read
- Shoot from a doorway or corner to show the most of the room and how it connects to the next space.
- Show two walls, not one flat wall straight on, so the room has depth. Straight-on, one-point views work for symmetrical rooms such as a kitchen with an island or a bathroom vanity.
- Keep the camera level and lines straight. Correct any remaining lean in editing.
- Include a foreground edge such as the corner of a bench or the end of a bed, but do not let it fill the frame.
- Leave the ceiling and floor in balance. Too much ceiling makes rooms look empty; too much floor makes them look small.
- Show the flow: a living room shot that looks through to the kitchen and the deck tells the buyer more than three separate photos.
Room by room
Front of the home. Shoot from across the street or the far corner of the lawn, with the sun on the facade. Mow the lawn, sweep the path, open the garage only if it is tidy. This is usually the first photo, so take several and pick the best.
Living areas. Turn on lamps, plump cushions, clear the coffee table except for one simple object. Shoot towards the best light and the best view.
Kitchen. Clear the benches almost completely, put the kettle and toaster away, close cupboard doors and line up stools. A one-point view down an island and a corner view showing the kitchen's link to dining both work.
Bedrooms. Make the bed with plain linen, two pillows and no clutter on the side tables. Shoot from the doorway or a corner so the bed is seen at an angle.
Bathrooms. Toilet seat down, towels folded, every bottle and toothbrush away. Watch for your reflection in mirrors and shower screens; shoot at an angle to the mirror.
Laundry, study and storage. Short and clean. Buyers want to see they exist and are usable.
Outdoor areas. Set the outdoor table, sweep the deck, put away hoses and bins. If there is a view, shoot it from the spot a buyer would stand.
Twilight. A twilight exterior, taken just after sunset with every light inside on, makes a strong lead photo for many homes. You have only a short window, so set up before sunset.
Shooting with a phone
A recent phone can take listing photos good enough for a small unit or a rental, if you use it carefully. Use a small phone tripod, the main lens (not the ultra-wide, which distorts the edges), and the phone's own HDR. Hold the phone upright at chest height, turn on the grid to keep lines straight, and tap to set focus and exposure on a mid-tone wall. Shoot in landscape. For a sale listing, most agents still use a professional photographer.
Drones and aerial photos
An aerial photo shows the land, the street, the pool and how close the beach or park is, and it suits acreage and homes with views. Drone flights are regulated by the Civil Aviation Safety Authority (CASA). The rules depend on the drone's weight and on whether the flight is for business, and an agent or photographer flying a drone to market a property is flying for business. Check CASA's current drone rules before you fly, respect neighbours' privacy, and never fly over people or near airports without the right approvals. Many agents simply book a photographer who holds the right licence.
Editing, and what you must not change
Editing should make the photo look like the room on a good day, not like a different room.
Fine to do: straighten verticals, correct lens distortion, balance exposure and colour, replace a grey sky with a clear one, brighten a dark room, remove a power lead or a bin that will not be there at the inspection.
Not fine: removing permanent features such as power poles, a neighbouring building, a crack in a wall or a water stain; making a room look larger than it is; adding a view that is not there. Australian Consumer Law prohibits false or misleading claims in advertising, and a listing photo is advertising. Virtual staging adds furniture to an empty room and must be labelled; our virtual staging guide covers the rules.
How many photos, and in what order
Most portals allow a large gallery, but quality beats quantity. A typical house listing has somewhere between 15 and 30 photos; a small unit fewer. Lead with the strongest image (often the front of the home, the main living area or the view), then follow a buyer's walk through the home: living, kitchen, dining, bedrooms, bathrooms, outdoor, then the floor plan. Leave out near-duplicates and any photo you would not want a buyer to judge the home by.
Briefing a photographer
If you hire a real estate photographer, a short written brief saves a reshoot. Include:
- The address, access arrangements and a contact on site.
- The rooms and features that matter most to buyers for this home.
- Whether you want twilight, drone, a floor plan, a video or a tour.
- Any rooms or items not to photograph.
- The deadline for the edited files and where they should be delivered.
- The usage you need: portals, print, signboards and social posts.
Ask to see a recent full gallery, not only the photographer's best five photos, and check what the price includes. Our real estate photography cost guide compares published prices.
Timing the shoot
Book the shoot after the home is fully prepared: gardens done, repairs finished, styling in place. Rescheduling for one missing piece is cheaper than a second shoot. In winter, plan exteriors around the low sun; in summer, avoid midday glare on the facade. If the home's best feature is its morning light or its sunset view, book for that time.
Photos, tour and floor plan together
Buyers use the photos to decide whether a home interests them, the floor plan to check the layout, and a real estate virtual tour to walk through before inspecting. If you are booking a photographer, ask for all three in one visit; if you shoot your own, a 360 or 3D camera can capture the tour and the plan while you are already in each room.
A vendor checklist for photo day
Agents can hand this list to the vendor a few days before the shoot. Every item is quick, and each one shows in the photos.
Outside
- Mow, edge and sweep; pull weeds from paths and the front bed.
- Move cars off the driveway and out of the street in front of the home if possible.
- Put bins, hoses, tools, toys and the pool cleaner out of sight.
- Clean windows facing the street and wipe the front door.
- Turn on the pool pump early so the water is still and clear by the shoot.
Inside
- Clear benches, the top of the fridge, bedside tables and bathroom vanities.
- Remove magnets and notes from the fridge, and family photos if the vendor prefers privacy.
- Replace blown bulbs and use matching warm bulbs where you can.
- Make beds with plain linen; fold or hang towels neatly.
- Close toilet lids, hide soap, sponges, bath toys and pet beds.
- Open every blind and curtain, and turn every light on before the photographer arrives.
On the day
- Keep pets and people out of the rooms being photographed.
- Have keys ready for locked rooms, sheds and the garage.
- Agree which rooms and items are not to be photographed.
Styling without overdoing it
Small styling touches make a room feel lived in without making it feel cluttered. A bowl of green apples or lemons on the kitchen bench, one plant in the living room, a throw folded at the end of the bed, a fresh towel on the rail and a few books on a shelf are enough. Remove anything personal, branded or loud, and avoid strong scents and flowers that will be dead by the inspection. If the home is empty, consider styling the main living area and main bedroom with hired furniture, or using clearly labelled virtual staging.
Window views and bright windows
Views sell homes, so buyers want to see them through the window, not a white rectangle. Bracketed exposures or a flash and ambient blend let the editor keep the view and the room both visible. If the view is the home's best feature, take a separate photo of the view itself from the balcony or the window, and one photo of the room that shows the view in context. Keep the view honest: do not add one that is not there, and do not crop out the neighbouring building if it is part of what a buyer will see.
Sizes and formats for each use
| Use | What to ask for |
|---|---|
| Portal galleries | Landscape JPEGs at the portal's recommended size, colour corrected for screens |
| Print brochures and boards | Full-resolution files, the lead photo with room for text |
| Social posts | Square and vertical crops of the lead photos |
| Agency website | Web-optimised copies so the page loads fast |
| Floor plan | A separate high-resolution image per level |
Ask for the files named by room and in gallery order, so uploading takes minutes, not an hour.
Rentals, units and commercial listings
Rentals need clear, honest photos more than dramatic ones; tenants want to see condition, storage, appliances and the outdoor area. Photograph the home before tenants move in, or with their written permission and their belongings tidied or out of shot.
Units and apartments sell on light, views, the floor plan and the building. Add photos of the lobby, the pool or gym, the car space and the storage cage, and a photo of the street or nearby park.
Commercial listings need the street frontage, signage space, parking, the main floor area and amenities. A floor plan matters even more than for a home, because buyers and tenants are fitting a business into the space.
Licensing and who owns the photos
Photographers usually keep copyright and license the photos to the agent or vendor for the sale campaign. Check the terms before reusing photos for another campaign, a rental listing after the sale, or the agency's own advertising. If another agent takes over the listing, the original photos may not transfer with it. A short written agreement on usage avoids arguments later.
Video and short clips
A short walk-through video or a few vertical clips for social media can sit alongside the photos. Keep clips steady (a gimbal or slow, smooth walking), shoot in the same light as the photos, and show the flow of the home in the order a buyer would walk it. Captions are better than music with heavy beats, because many people watch with the sound off.
Seasons and weather
The same home can look very different in February and July. In summer, the sun is high at midday, so shoot facades in the morning or late afternoon to avoid harsh shadows under the eaves, and water the lawn a few days before so it is green. In winter, the sun stays low and shadows are long, so north-facing facades photograph well for much of the day but south-facing ones may sit in shade; a bright overcast day can suit them better. Rain on paths and decks looks dull, so move the shoot if you can. If a garden is at its best in spring, consider photographing it then even if the home lists later, and use those photos with the vendor's agreement.
When to reshoot
Reshoot if the listing has been on the market for weeks with few enquiries and the photos are part of the reason: a dark lead image, a missing room buyers keep asking about, or a season that now looks wrong (a bare winter garden in a summer campaign). A fresh lead photo and a reordered gallery can give a stale listing a second look. Reshoot too after any change buyers will see at the inspection, such as new paint, a finished garden or new carpet, so the photos match the home.
Choosing the lead photo
The first photo decides whether a buyer scrolling a portal stops on your listing. Pick the image that shows what makes this home different: the facade for a character home, the living area and deck for a family home, the view for an apartment, the land for acreage. Check it at thumbnail size on a phone, because that is how most buyers first see it. A lead photo should be bright, level, uncluttered and sharp, with nothing in it that raises a question, such as a car in the driveway, a skip bin or a sign. Many agents choose two or three candidates during the shoot and decide after editing, comparing them side by side at small size.
Mistakes that cost attention
- The agent or photographer visible in a mirror.
- Leaning walls and fisheye distortion.
- Dark rooms with one lamp on.
- Toilet seats up and cluttered benches.
- A first photo that is not the home's best angle.
Common questions
How do you take good real estate photos?
Prepare the home, shoot with every light on in even daylight, keep the camera level at about chest height, keep verticals straight and follow a full shot list.
What is the biggest mistake in listing photos?
Dark, cluttered rooms and leaning walls. Buyers scroll past them.
What lens is best for real estate photography?
A wide lens of about 16 to 24 mm on a full-frame camera, or about 10 to 16 mm on a crop sensor. Wider than that distorts rooms.
Can I edit listing photos?
Yes, to straighten lines and fix light and colour. You must not remove permanent features or make the home look different from reality, because a listing photo is advertising.
Do I need a licence to fly a drone for real estate?
Flying for business is regulated by CASA, and the rules depend on the drone's weight. Check CASA's current rules or hire a licensed operator.
Can I take real estate photos with my phone?
Yes, for small units and rentals, using a tripod, the main lens and the phone's HDR. Most sale listings still use a professional.